Cutting an STL file into multiple separate parts is a fundamental technique in 3D printing. Whether your model is too large for your build plate, has impossible overhangs in one piece, or you want to print sections in different colors, knowing how to split STL files cleanly is an essential skill for any serious 3D printer.
Why Cut an STL File?
- Model exceeds build volume – A life-size bust or large statue needs to be split to fit on standard printers
- Reduce supports – Arms printed flat need no supports; the same arm printed as part of a full figure needs heavy support
- Multi-color printing – Print different sections in different filament colors and assemble
- Better surface quality – Each part can be oriented to minimize support contact with visible surfaces
- Easier post-processing and painting – Smaller pieces are more manageable for sanding, priming, and painting
- Replace broken parts – If one section breaks, reprint just that piece instead of the whole model
Best Tools for Cutting STL Files
Meshmixer (Free — Recommended for Beginners)
Meshmixer by Autodesk is the easiest tool for clean plane cuts. Import your model, go to Edit → Plane Cut, position the cutting plane visually, and export each section. It also repairs mesh issues that commonly appear after cutting.
Blender (Free — Most Flexible)
Blender offers the most control for complex cuts. Use the Bisect tool for straight cuts or Boolean modifiers to cut along custom shapes. Ideal when you need non-planar cuts that follow the model’s anatomy — for example, cutting an arm at the shoulder joint along a curved surface.
PrusaSlicer / Bambu Studio (Free — Integrated)
Both FDM slicers have built-in cut tools under the right-click menu. Convenient for quick cuts without leaving your slicer, but less precise than dedicated tools.
Chitubox / Lychee (Free — Resin)
Both major resin slicers include cut functions designed for splitting models for resin printing. Lychee’s cut tool is particularly clean and includes options for creating alignment pins automatically.
Step-by-Step: How to Cut a Model in Meshmixer
- Download and install Meshmixer – Free from Autodesk’s website
- Import your STL file – File → Import → select your STL
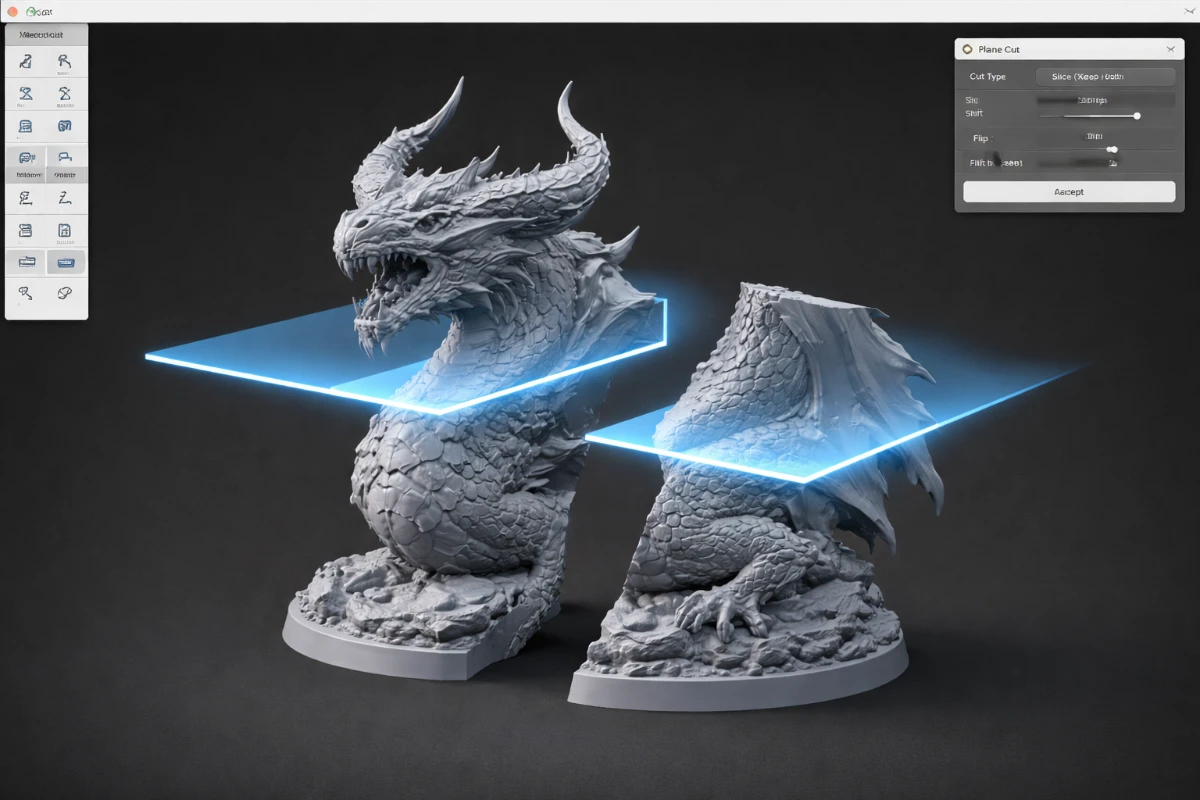
- Go to Edit → Plane Cut – A plane appears in the center of the model
- Position the cutting plane – Drag the plane up/down and rotate it to position the cut exactly where you want it
- Set Fill Type to “Solid” – This closes the cut surface cleanly rather than leaving an open hole
- Apply the cut – Click Accept to perform the cut
- Export each half separately – File → Export → STL for each piece
- Import into your slicer – Each part can now be oriented independently for optimal printing
Tips for Clean Joins After Printing
- Sand the mating surfaces flat with 200-grit sandpaper for flush joints
- Use CA glue (super glue) for permanent joins, or magnets for removable assembly
- Add alignment pins (small cylinders and holes) to your design before cutting to make assembly easier
- Fill the seam with Squadron putty or model filler, sand smooth, then paint over for invisible joins
Also read: What is an STL File? | Best Slicers for 3D Printing | SANIX3D Blog.