Transitioning between Maya and ZBrush is a common milestone for 3D artists expanding their skillset. Whether you’re a Maya modeler wanting to add organic sculpting capabilities, or a ZBrush sculptor looking to branch into animation and rigging, this guide will help you make the switch as smoothly as possible.
Why Artists Transition Between Maya and ZBrush
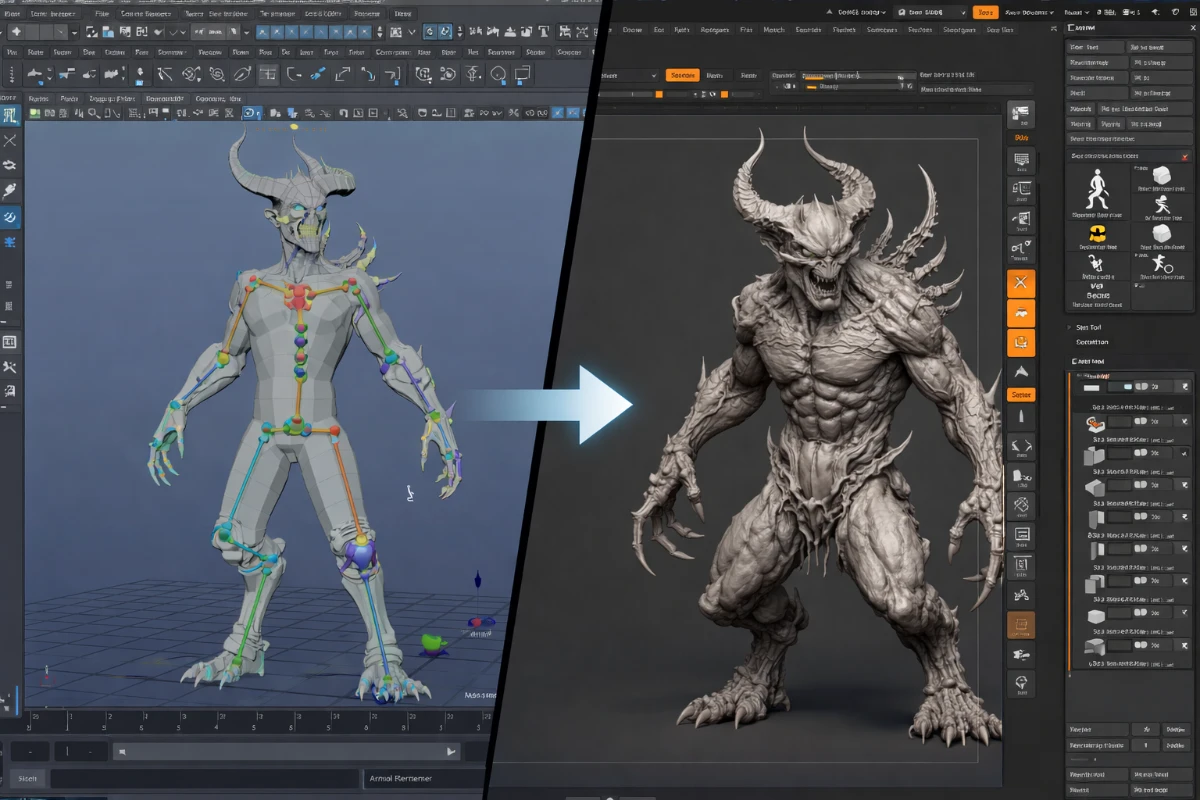
The two software tools serve complementary roles in the professional 3D pipeline. Very few artists work exclusively in one or the other — most studios expect artists to be proficient in both. A character artist typically sculpts anatomy and detail in ZBrush, then brings the model into Maya for retopology, UV unwrapping, rigging, and animation.
Transitioning from Maya to ZBrush
If you are comfortable with Maya’s polygon modeling workflow, transitioning to ZBrush requires a significant mindset shift. Maya operates on precise geometric manipulation; ZBrush operates on intuitive, brush-based clay sculpting.
What to Focus on First
- ZBrush Interface – ZBrush’s UI is notorious for being non-standard. Spend dedicated time learning the canvas, tools vs subtool system, and lightbox. It’s confusing at first but becomes intuitive after a few weeks.
- Dynamesh – ZBrush’s dynamic remeshing tool that redistributes polygon density as you sculpt. Essential for blocking out forms freely without worrying about polygon flow.
- Subdivision levels – ZBrush’s approach to working at different resolutions. Block out forms at low subdivision, add details at higher levels. This is fundamentally different from Maya’s approach.
- Primary brushes – Standard, ClayBuildup, Dam_Standard, Move, and Smooth are the core brushes to master first.
- ZRemesher – Automatic retopology tool. Generate clean topology for animation-ready meshes after sculpting.
Timeline for Maya-to-ZBrush Transition
- Weeks 1–2: Interface and navigation, basic brush workflow
- Weeks 3–6: Blocking forms, Dynamesh, subdivision sculpting
- Month 2–3: Full character busts, anatomy fundamentals in ZBrush
- Month 3+: Full figures, hard surface in ZBrush, export to Maya workflow
Transitioning from ZBrush to Maya
Coming from ZBrush’s freeform sculpting environment to Maya’s structured modeling approach means learning to work with precise topology, edge loops, and parametric constraints.
What to Focus on First
- Polygon modeling fundamentals – Extrude, bevel, bridge, merge vertices. Maya’s modeling toolkit is the foundation.
- Edge loop discipline – Good topology follows muscle and deformation paths. Learn why edge loops matter for animation.
- UV unwrapping – Essential skill for texturing. Maya’s UV editor is more powerful than ZBrush’s UV tools.
- Rigging basics – Joints, IK handles, skin binding. This is unique to Maya and unavailable in ZBrush.
- Animation timeline – Keyframes, graph editor, animation principles. ZBrush has no equivalent.
Tips for a Smooth Transition (Both Directions)
- Give yourself at least 2–3 months before expecting proficiency in the new software
- Follow a structured tutorial series specific to your transition, not random tips
- Start by recreating models you already know well in the new software
- Join communities — r/ZBrush, r/Maya, and dedicated Discord servers provide excellent support
- Keep using your original software for real work while learning the new one to avoid losing productivity
Also read: Maya vs ZBrush – Which to Choose? and How to Become a Beginner 3D Designer.